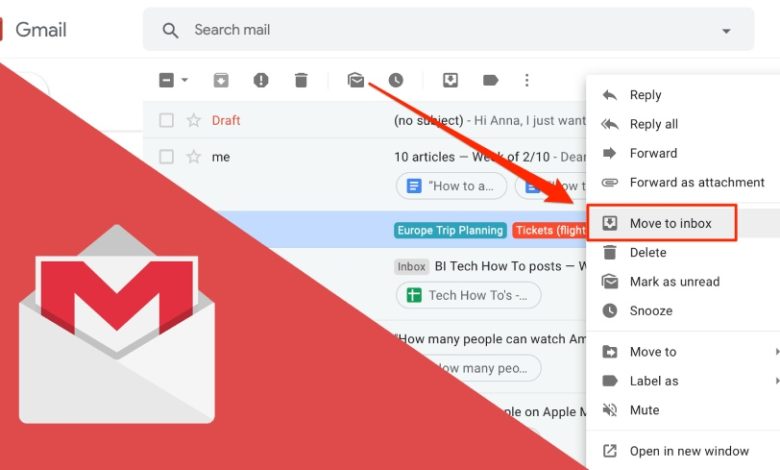
How to make all messages move to Gmail Inbox?

You can move emails between inbox tabs in Gmail that include Promotions, Social, Updates, and Forums. Commonly Gmail filtrating is accurate but there might be instances. when you might get an important message that is hidden under an incorrect tab. To move a message to a different tab in the Gmail inbox and to set up rules for future messages from the sender, you have to follow a few steps. You can make all messages move to Gmail Inbox, so move ahead.
Move Emails between Inbox Tabs in Gmail
- Click and hold the email which you have to move. You can move than one email at a time by keeping a checkmark. in the box before everyone you want to move before clicking one of them
- Drag the email to the tab on which you want to look and set up a rule for future emails from the same email address
- Choose ‘Yes’ in the Do this for future messages from the box that opens on the screen. Choosing Undo moves the email back to the original tab
- As an alternative to holding and dropping, you can use a contextual menu of a message
- Click on the email which you want to move to a different tab with the right-click. To move more than one email or conversation, check all emails or entire conversations which you have to move
- There you have to select the Move to tab from the contextual menu and there you have to choose the tab where you want the email or appeared email
- To create a rule for the future messages of sender there, you have to click on Yes under Do this for future emails from in the box that appears on the screen
Ways to open or close the Tabs
If you have never seen the tabs and want to try them then, you can set them up
- Click on the Gear icon from the upper-right corner
- Choose Customize under the Inbox Type
- Put a checkmark in front of each tab which you have to use
- Choose Save when you are all set
If you change your mind, then follow the same procedure and unmark all but the Primary tab to get back to the single tab.
Alternate Ways to move emails to Gmail Inbox
The nice thing about Gmail labels is that multiple labels are applied to a single message. For instance, you can mark a message from the study group under two labels. Further, you can open the labels from the sidebar and see messages in a certain label.
Sign in to the Gmail account and click on the small down arrow in the search box that appears at the top. From the “field”, enter the email address for which you want to set up a new label. For the instance, use “bot@emailthis.me” if you want to move all emails from this ID to a new label known as “EmailThis”. So, you have to click on the “Create filter with this search” link that appears on the screen.
Choose the domain that says “Apply this label” in the next screen and then, from the drop-down box next to it, choose “New label”. Now you can see the model window where you have to provide the new label name and type “EmailThis” and click on the “Create” option
Here you are all set and now you can see the link named “EmailThis” from the sidebar. You can click on the link to view all emails which have been marking with this label only. Any new emails from “bot@emailthis.me” will be sent automatically to this label. You can contact Gmail Help to get instant assistance for any label or filter related issue.
Create Gmail Filters
Apart from this, you also have the facility to create filters in Gmail and for that, move ahead with the steps.
- You can create filters to move emails automatically to different inbox tabs. Click on the gear icon from the top-right corner of the Window
- Click on “See All Settings” in the “Quick Settings” menu. and open click on the “Filters and Blocked Addresses” tab
- In the Blocked and Filters Addresses, you can see two sections. Click on “Create a New Filter” that appears in the filter section.
- When that has been chosen, a new menu will appear and enter the criteria for the messages which you have to move
- When you enter the criteria then, click on “Create Filter”
If you are a Gmail user and love to use, the app on an Android tablet or phone and want to set up a label for all emails from Email This, make sure to enable sync for the label. When you are all set then, all messages from that label will be downloaded automatically and available for reading even if you don’t have network connectivity.


